Halloween window decorations do a surprising amount of work. Before a guest reaches the porch, the windows tell them whether the house feels playful, moody, cozy, or ready for a little fright. They also let you create a full Halloween feeling without filling the yard, blocking the walkway, or buying a pile of oversized props.
The most effective displays are usually the simplest. A shape that reads from the sidewalk, a little depth behind the glass, and one warm light source can make a plain window feel like part of the evening. Start with the outside view, then build the details from the inside. That one decision keeps the scene clear instead of looking like a collection of craft supplies pressed against the pane.
1. Decide what the window should say from the sidewalk
Look at your home from the street before you decorate. Are the windows tall and formal, tucked under a porch, grouped close together, or partly hidden by trees? A display only needs one clear message at that distance. A flock of bats, a glowing jack-o-lantern face, a row of warm lights, or one shadowy figure will register much better than ten small details competing for attention.
Choose a mood that fits the rest of the house. Friendly windows can use warm amber, familiar pumpkin faces, or a few bats flying across the glass. A darker look can use black silhouettes, natural branches, and a more restrained pool of light. Either way, repeat one or two ideas across the windows so the house feels connected. Matching every window exactly can look stiff, but repeating the same color or material makes a display feel intentional.
This is also the easiest way to stay within a budget. Rather than buying a different decoration for every pane, decide on one visual cue and let it travel. A few simple black paper bats in different positions, for example, can connect a front window, side window, and door glass without turning the exterior into a wall of plastic.
2. Build the display in three layers
Windows have natural depth, even when the design is simple. Put the strongest silhouette closest to the glass, add a little texture or color behind it, then add light at the sill or farther back in the room. This gives the outside viewer something clear to see instead of a flat, bright rectangle.
The front layer might be a paper bat, a witch hat, a few cut-out branches, or a removable cling. The middle layer can be a sheer dark fabric, a group of small pumpkins, or a short garland that stays inside the window frame. The final layer is the glow: a battery-powered tea light, small LED string lights, or a lantern placed where it can cast a warm shape without crowding the sill.
Keep each layer simple enough that it can be seen. A black silhouette needs some lighter space behind it. A warm lantern needs a little darkness around it. If everything in the window is equally busy or equally bright, the display loses its focal point. Give the main shape room to do its job.
3. Use silhouettes that read in one glance
Silhouettes work because the eye recognizes a clean outline quickly. Bats, cats, crooked branches, ghosts, stars, moons, and simple haunted-house rooflines all have an easy profile. They can be playful or eerie depending on the size and the spacing, and they do not need detailed illustration to be effective.
Instead of filling every inch of the window, let the shapes move across one part of it. A small bat swarm lifting from the lower corner toward the top of the frame feels active. A single large ghost or black cat can be enough for a small window. If you are decorating several windows, vary the arrangement while keeping the same subject. That creates rhythm without making the house feel like it was copied and pasted.
Use materials that remove cleanly, and test them in an inconspicuous spot first. The goal is a display that feels festive for a few weeks, not one that leaves adhesive residue or damaged trim behind. Keep cords, tape, and hanging pieces inside the window frame so the scene stays tidy from both sides of the glass.
4. Give one window a warm focal glow
Warm light changes the mood more than another layer of decoration. A small lantern grouping on a sill can make the whole window feel lived in after dusk, especially when the room behind it is darker. It is a useful counterpoint to black silhouettes because it makes the scene feel welcoming rather than harsh.
For a front-facing window, place the brightest glow where it will not disappear behind curtains or furniture. A pair of small lanterns at different heights looks more natural than one centered object. On a deeper sill, use a small cluster and let the shadows from the cut wood give the window texture. On a narrow sill, one detailed piece usually has more impact than several tiny ones.
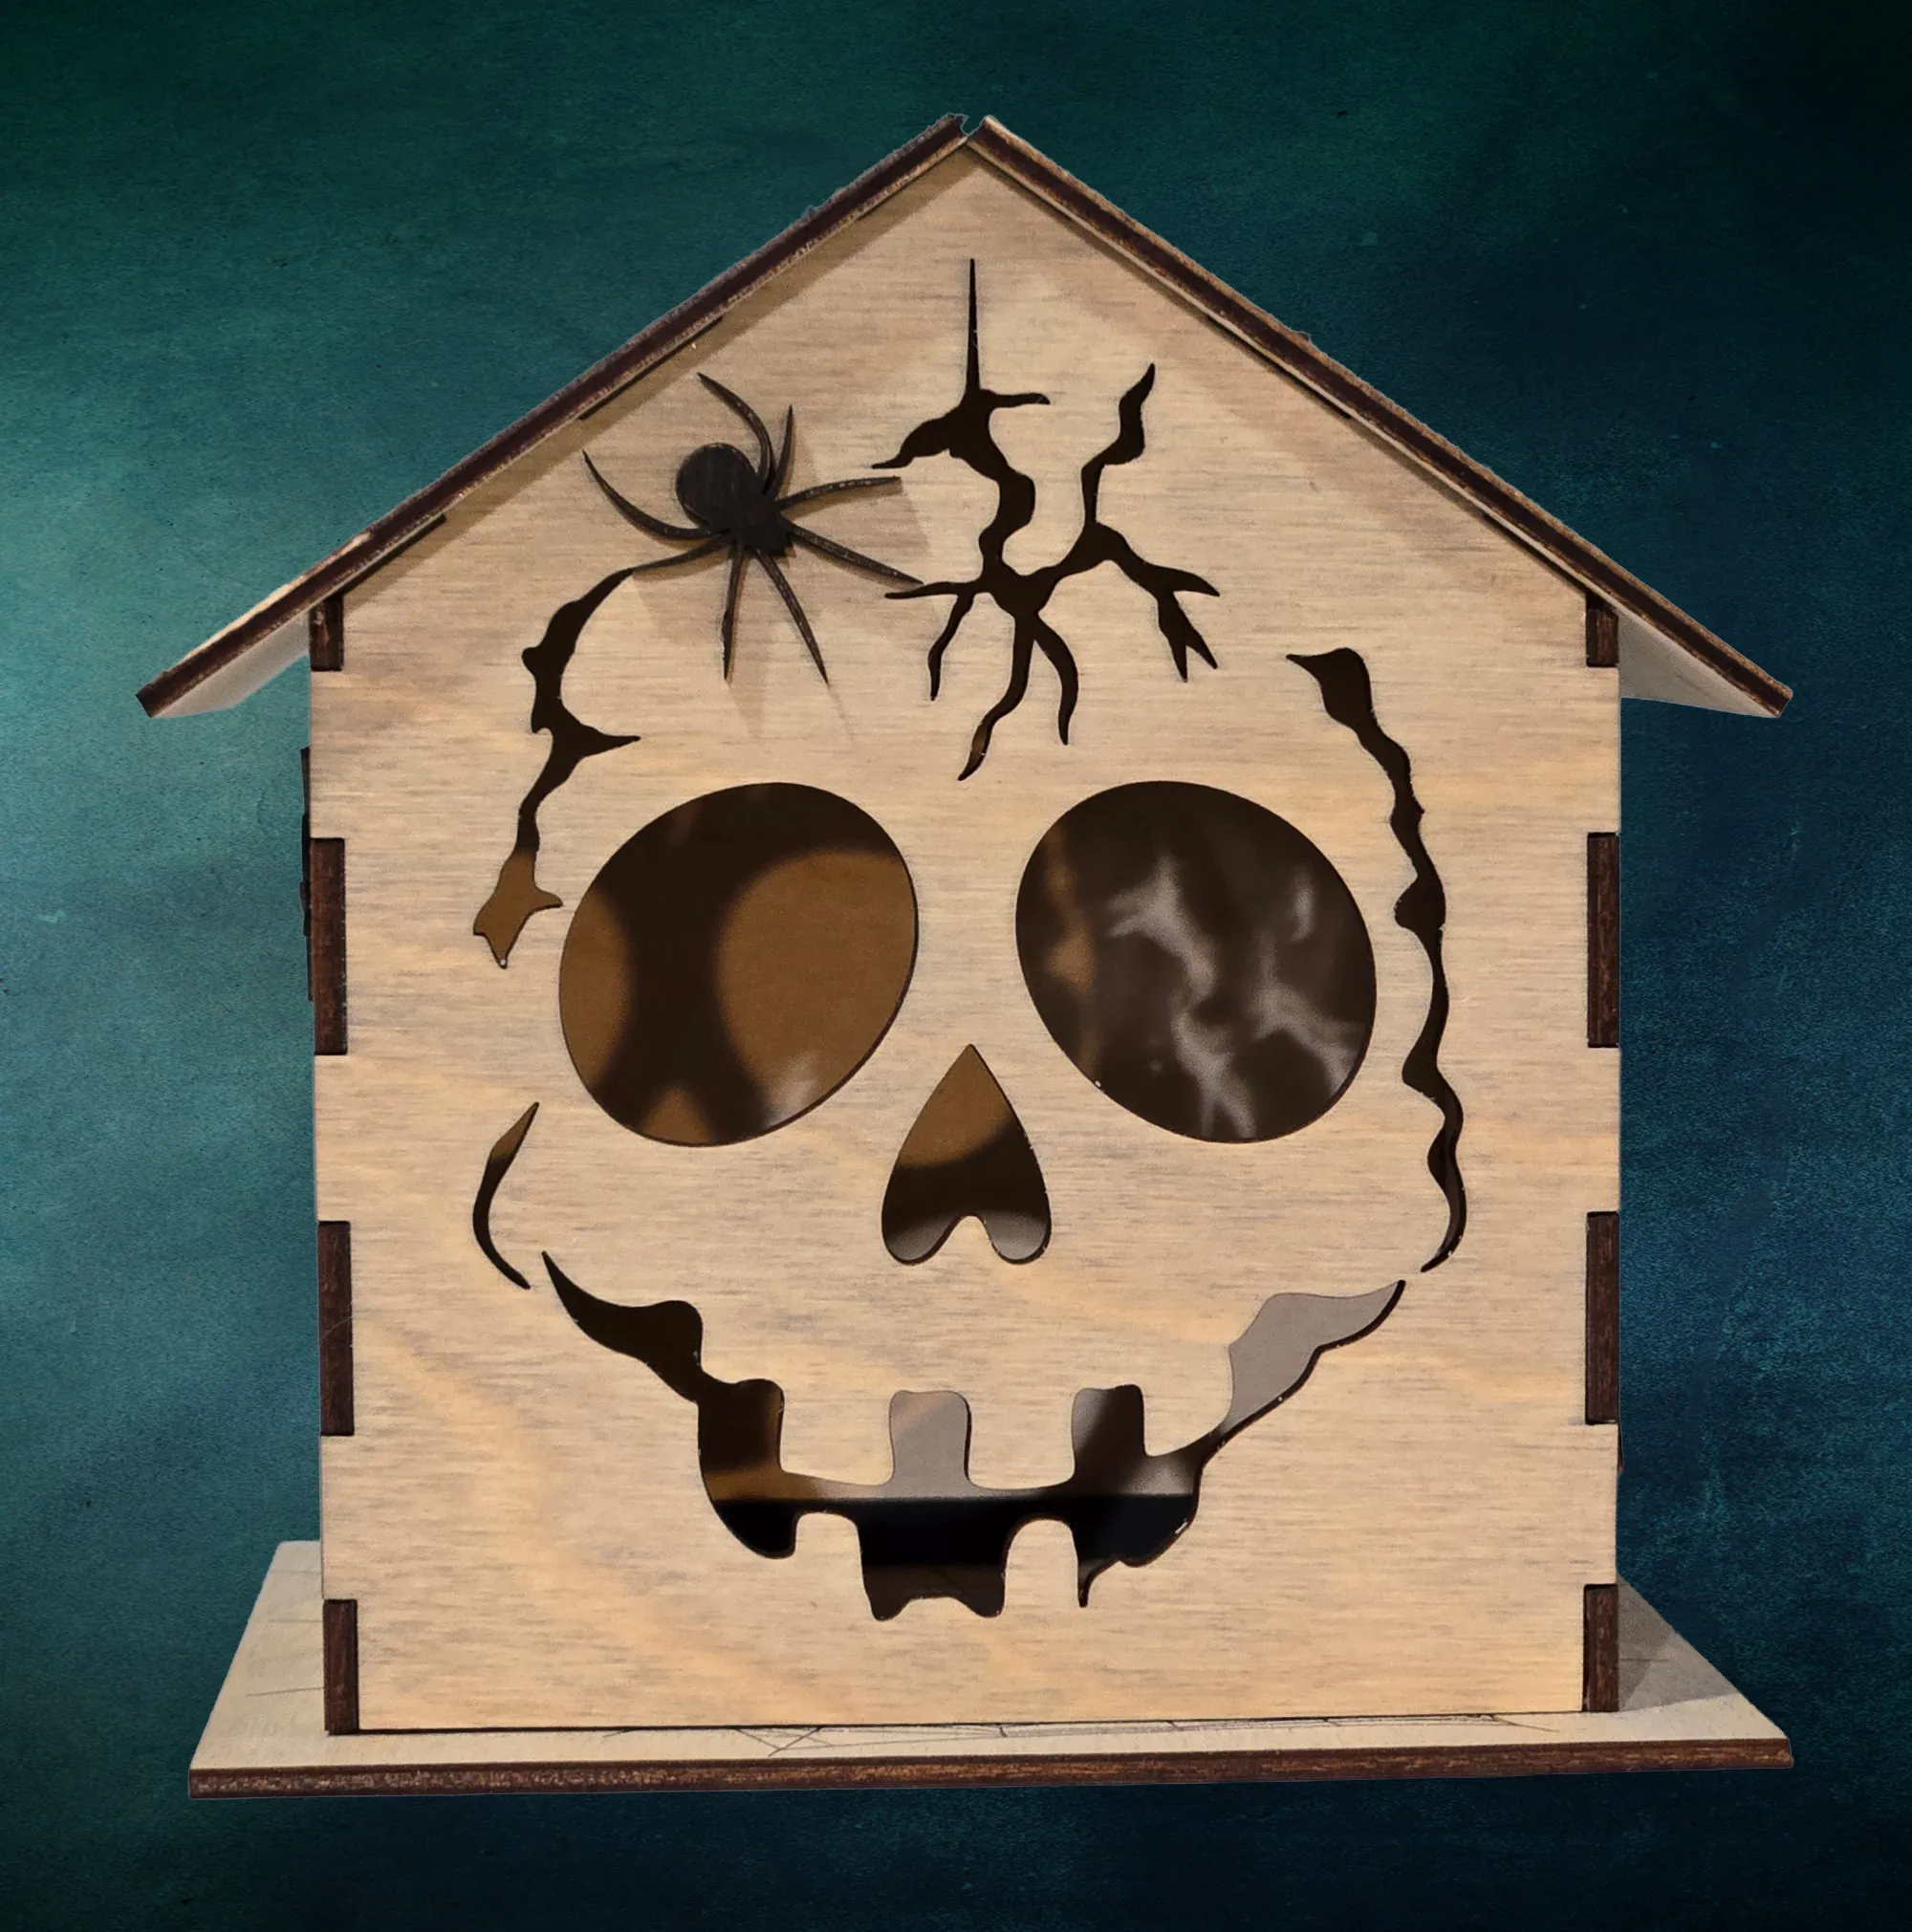
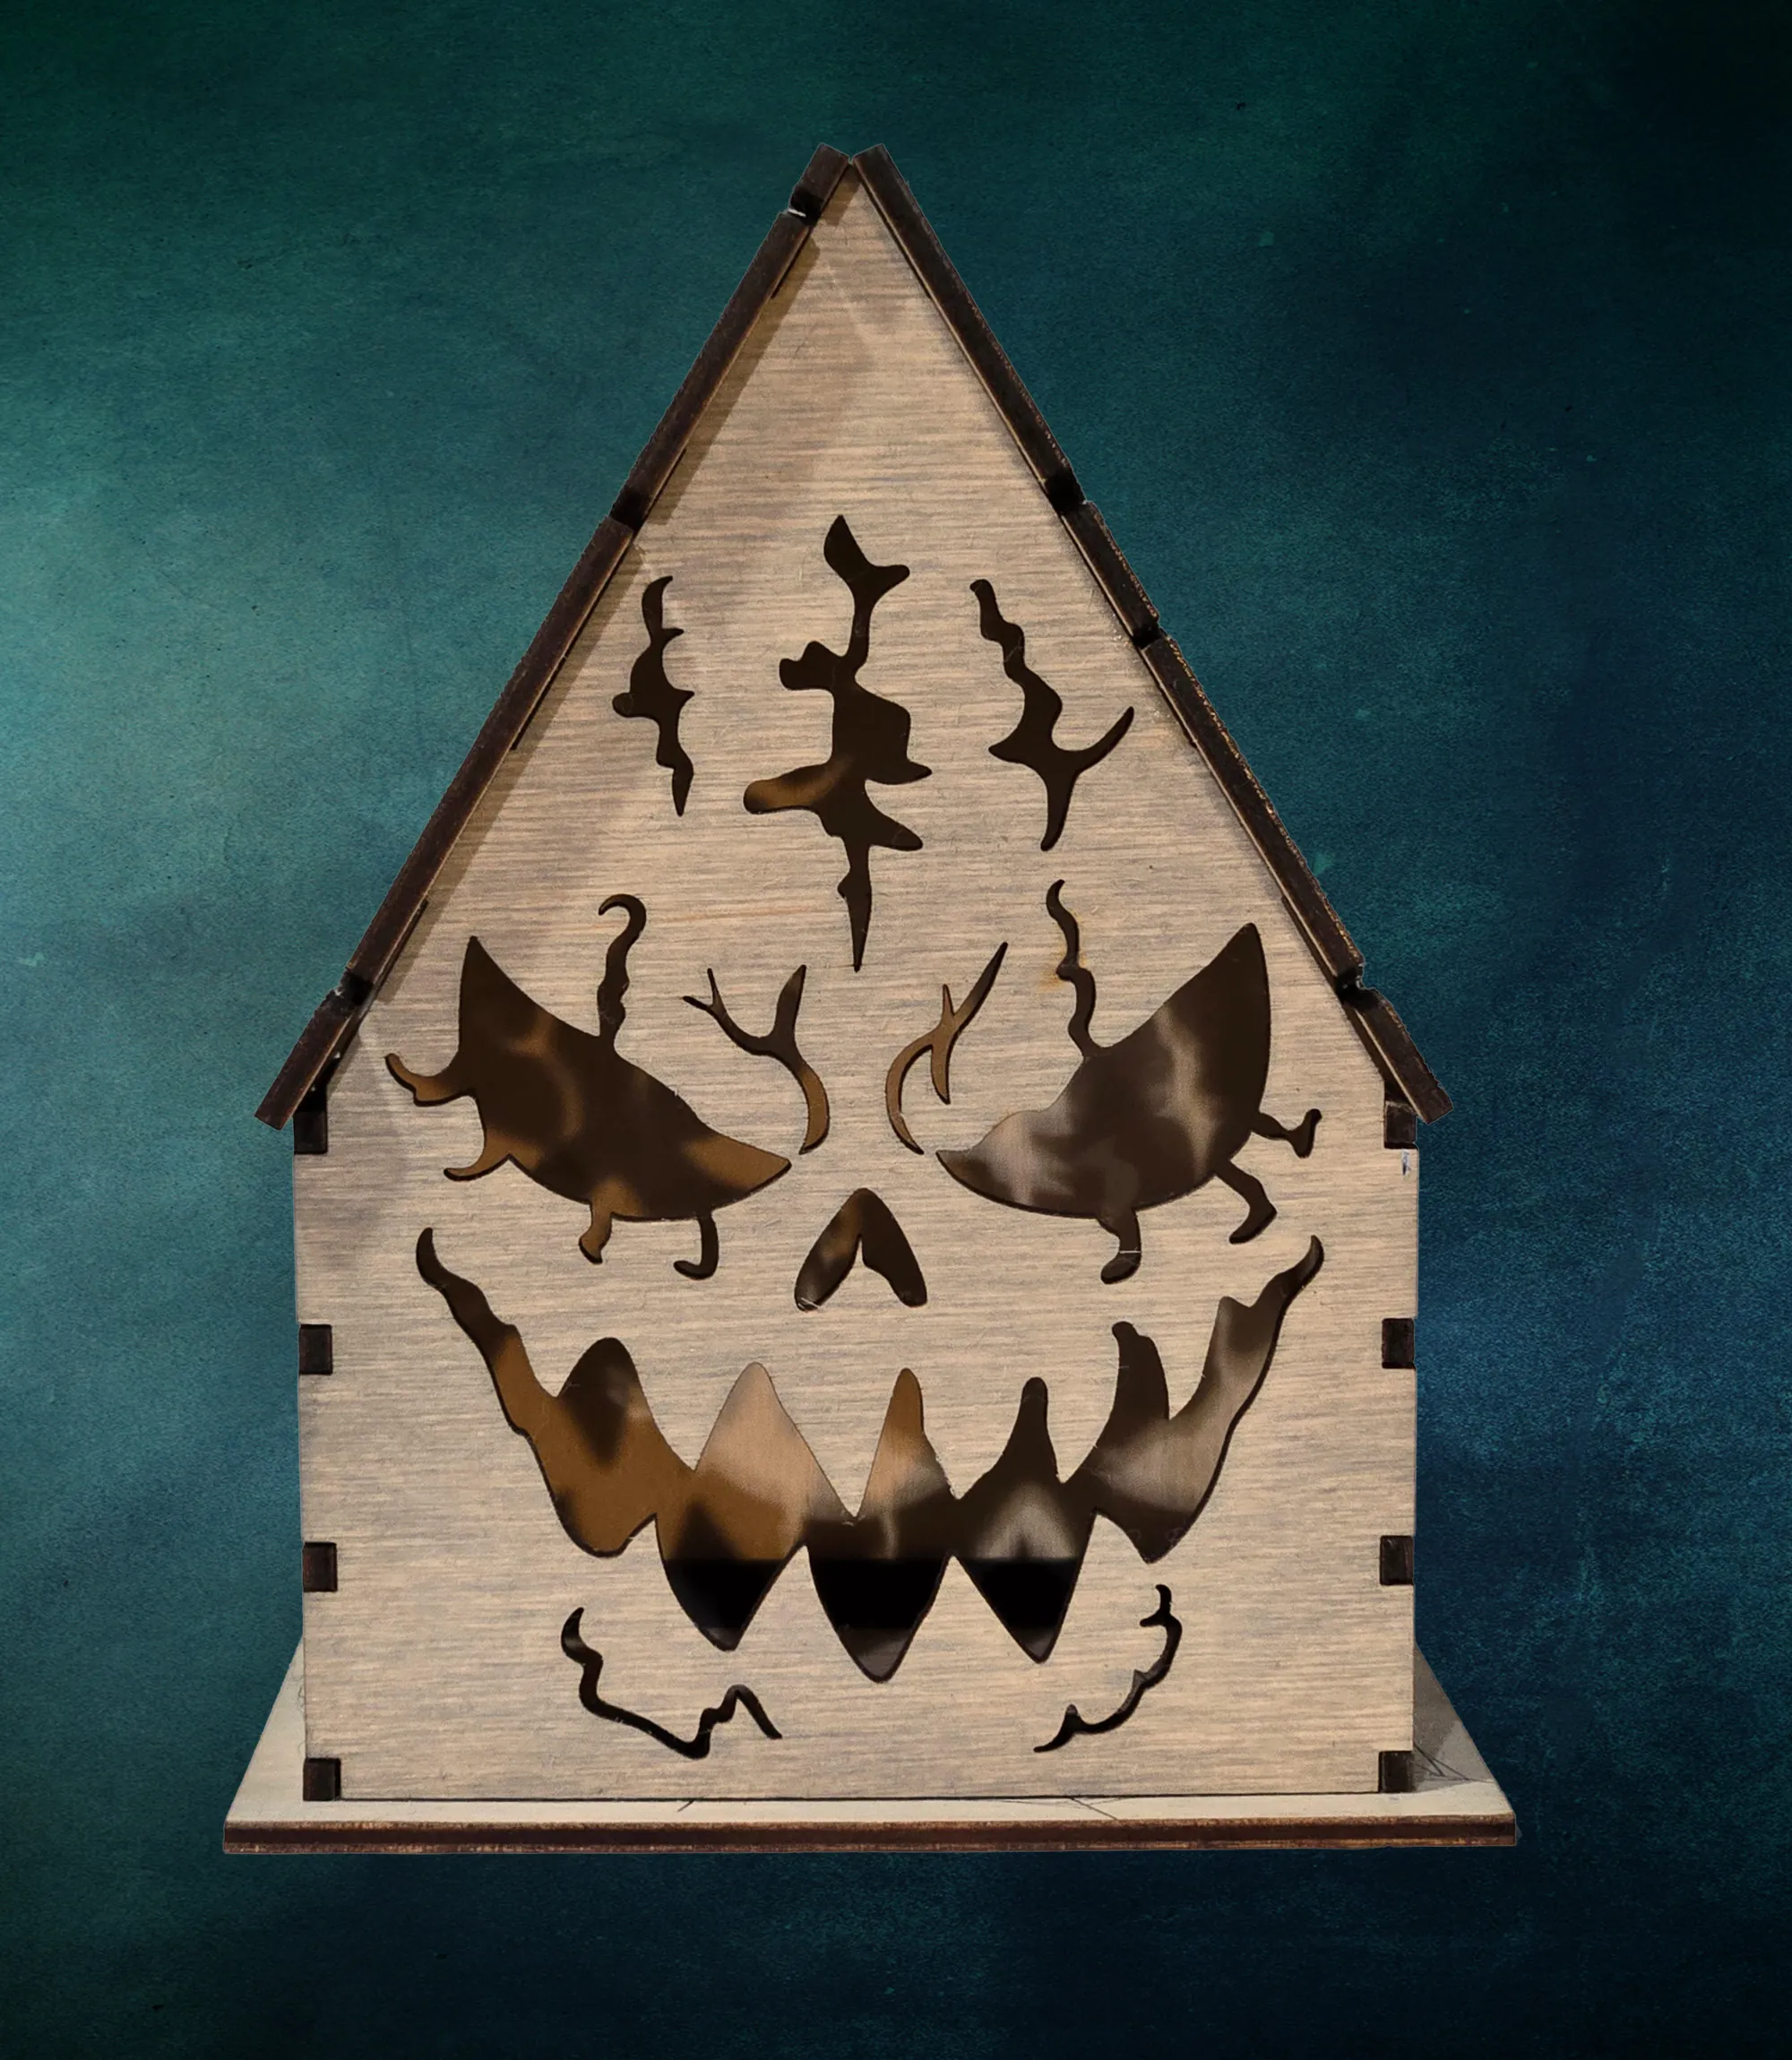
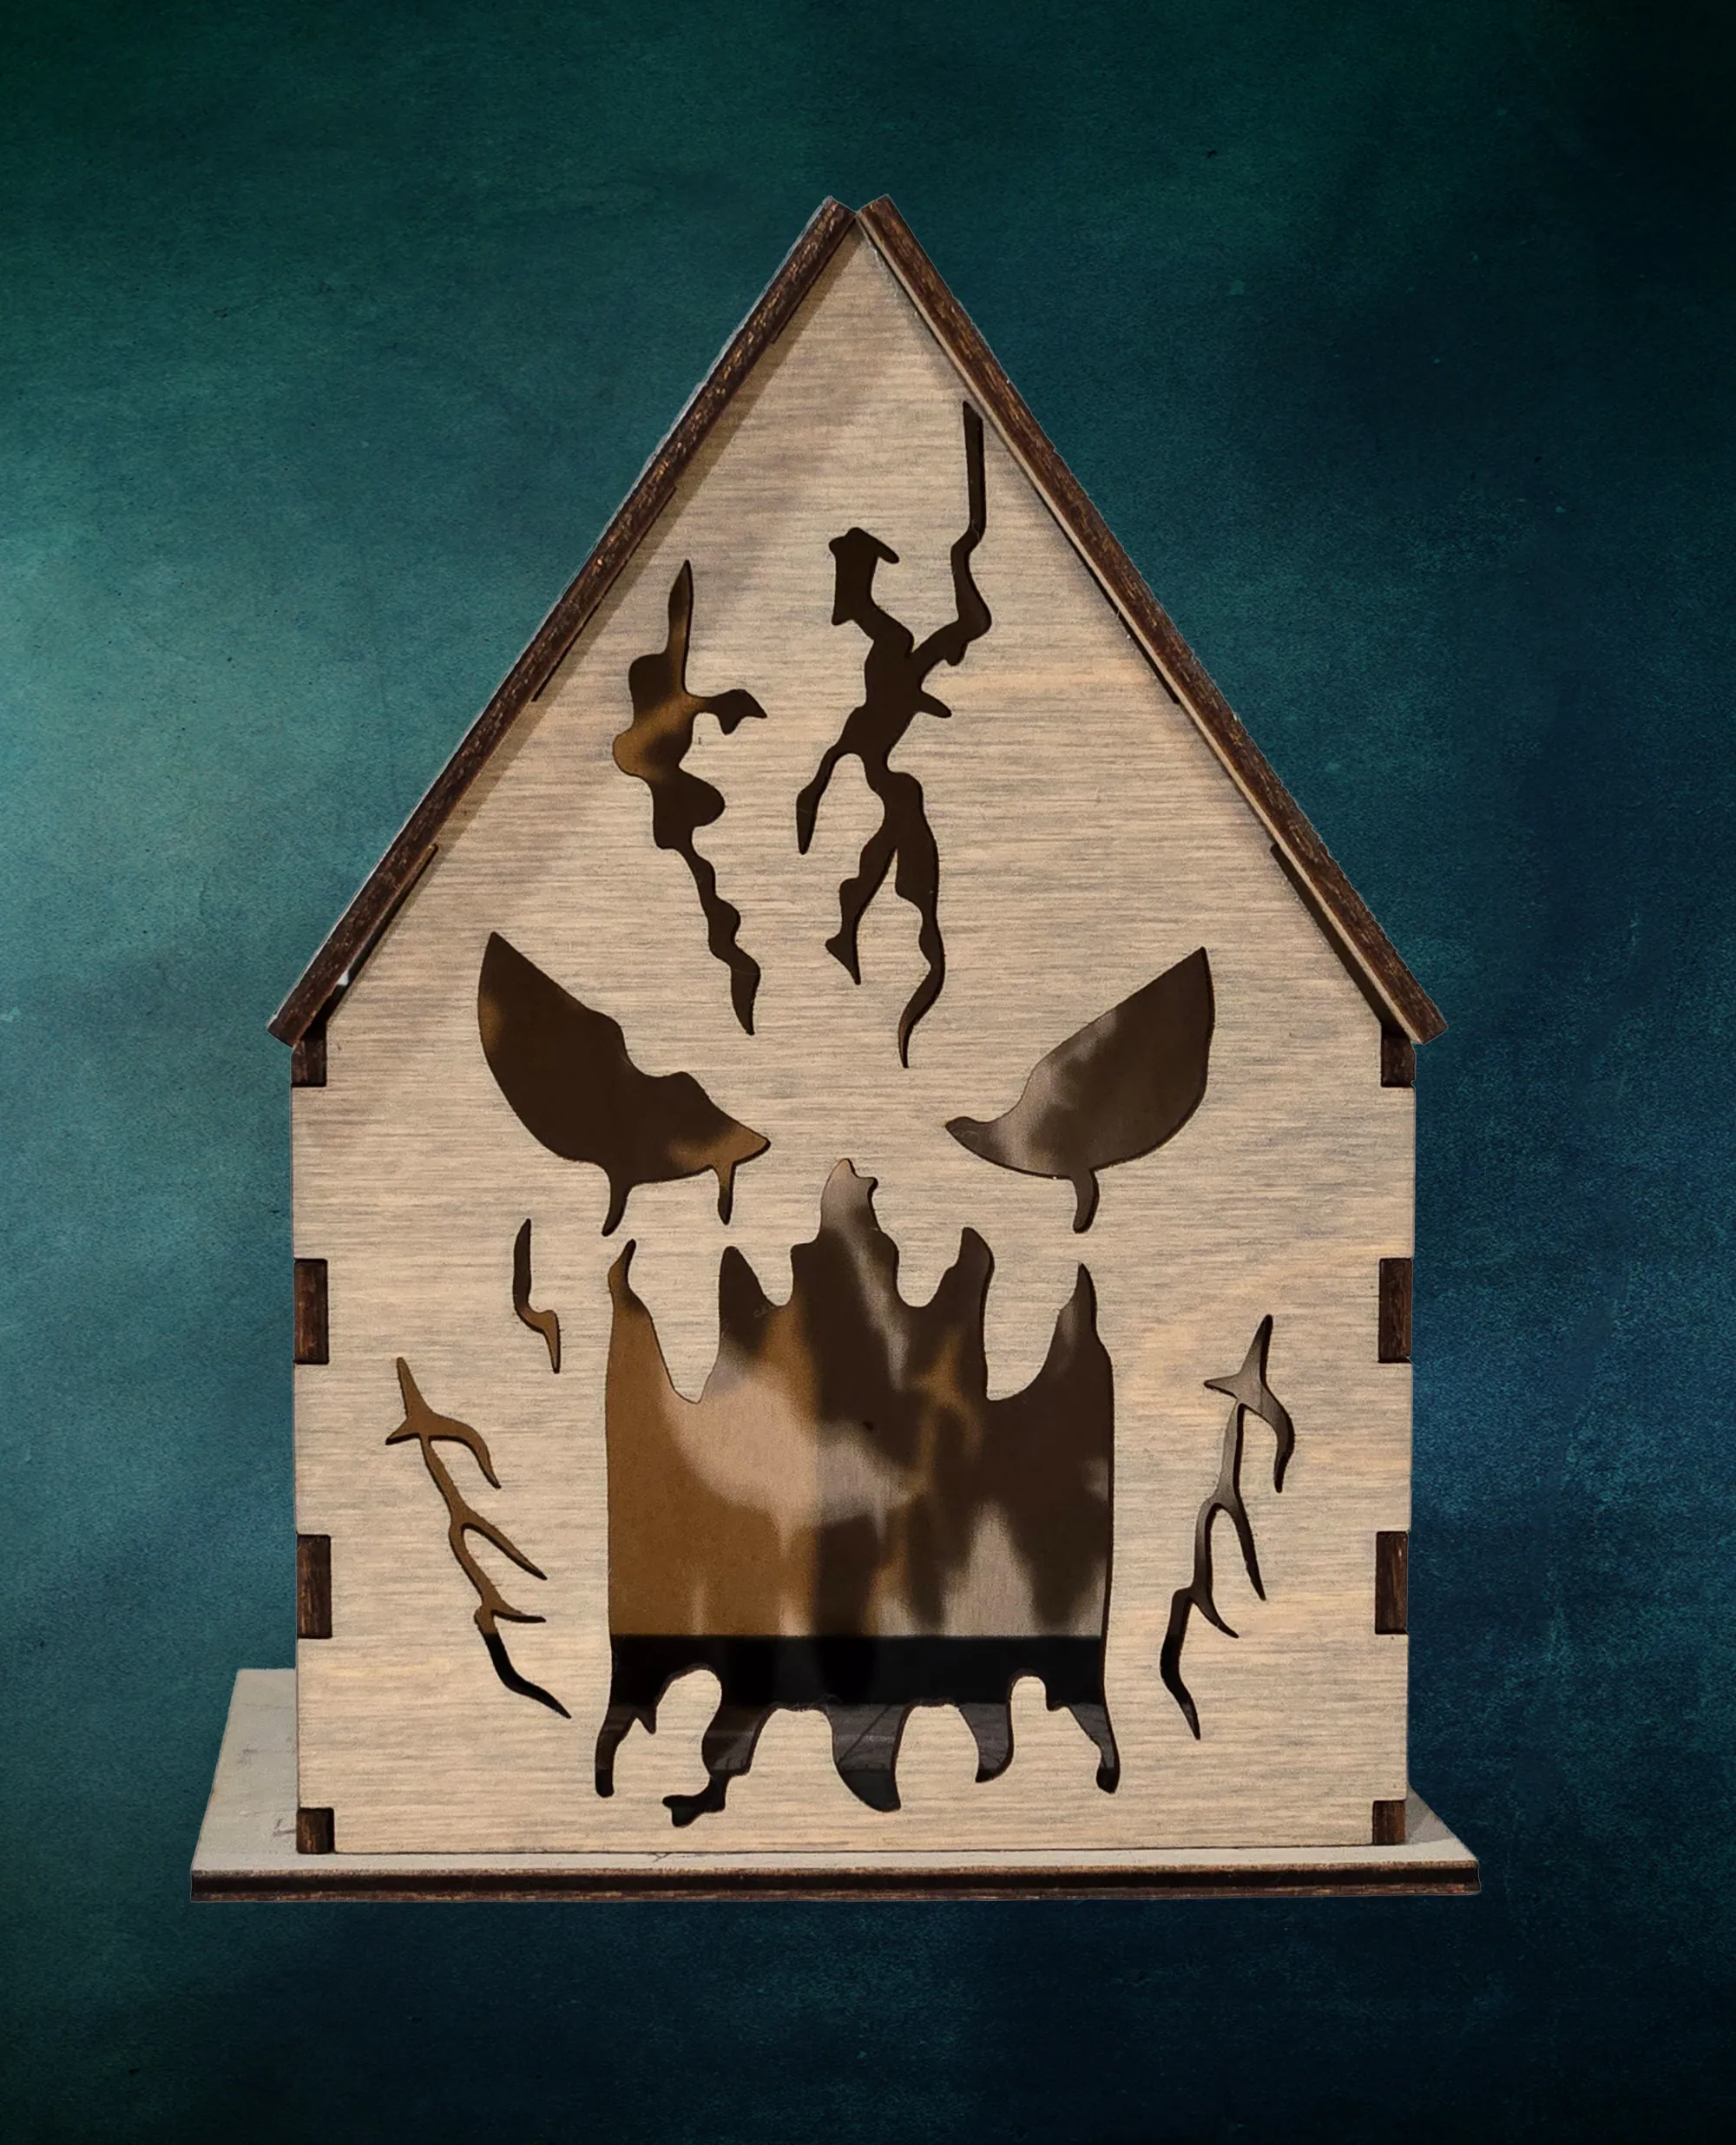
Gaslight Designs’ wooden Halloween house lantern set is made for this kind of layered light. Each house has its own cut face, so the group feels collected even when the rest of the window stays simple. Use battery-operated LED tea lights inside, then let the surrounding shapes stay quiet.
5. Choose safer light before adding paper or fabric
Halloween decor often brings together the exact materials that need a little extra care: paper, fabric, dried stems, costumes, and low lighting. Plan the light source first, then place the more delicate pieces around it. The U.S. Consumer Product Safety Commission’s Halloween guidance recommends keeping candles and other fire sources away from flammable decorations. For a window scene, flameless LED candles and cool-running lights are the straightforward choice.
Keep lighted pieces stable and well inside the room. Avoid placing anything where it can be knocked over by a curtain, a pet, or a child reaching for the window. Check cords for wear, use lights as directed, and keep the path to the window clear. If a decoration only works when it is balanced precariously on a sill, it is asking for a different setup.
A safer light source is not a compromise in a Halloween display. It lets you place the glow where it looks best, leaves room for paper silhouettes and fabric, and makes it easier to enjoy the display through a busy evening without hovering over it.
6. Match the inside view to the outside view
It is easy to decorate a window for the street and forget the room behind it. Before you finish, stand inside and make sure the scene still feels pleasant to live with. A large silhouette should not block all the daylight. A bright string light should not make the room uncomfortable at night. A window that opens for fresh air should still be able to open.
For rooms you use often, choose a lower, more contained arrangement. A few lanterns on a sill, a removable bat detail at the top of the glass, and a small pumpkin or branch can make the room feel seasonal without taking it over. For a less-used front room, you can lean more theatrical with a stronger silhouette or a deeper backdrop.
Think about what the display looks like when it is off, too. The best Halloween window decorations have a daytime version. Natural wood, a few pumpkins, and clean black shapes can still feel considered in afternoon light, then become atmospheric once the lamps come on.
7. Repeat a few details, not every detail
Repetition is what turns separate windows into one Halloween scene. Repeat the warm light, the shape of a bat, a dark branch, or the orange and black color pairing. You do not need to repeat every object. One window can hold the stronger lantern arrangement while another carries only silhouettes, as long as they share a visual language.
This approach is especially helpful in a house with mixed window sizes. Let the large window carry the focal point. Use a lighter version of the same idea in the smaller panes. A full scene in every window can look crowded from the street and feel like a lot to take down later. A few repeated cues will read more clearly and are much easier to live with for the season.
If you are decorating the entry too, let the window details lead naturally toward the door. The Halloween front porch guide can help you carry the same warm-light approach down to the steps without blocking the way for visitors.
8. Check the scene after dusk, then edit once
Wait until the sky is dark enough to see the real effect. Stand across the street or at the sidewalk, then look for three things: can you identify the focal shape, can you see the glow, and does the display still look like part of the home? If the answer is yes, stop there. Adding more rarely improves a window that already reads well.
If something is missing, make one adjustment at a time. Move the light closer to the glass. Remove a silhouette that overlaps the others. Create more darkness around the brightest piece. Those small edits make a bigger difference than buying another bag of decorations. A window is a frame, and a framed scene needs a little breathing room.
Bring a handmade glow to the glass
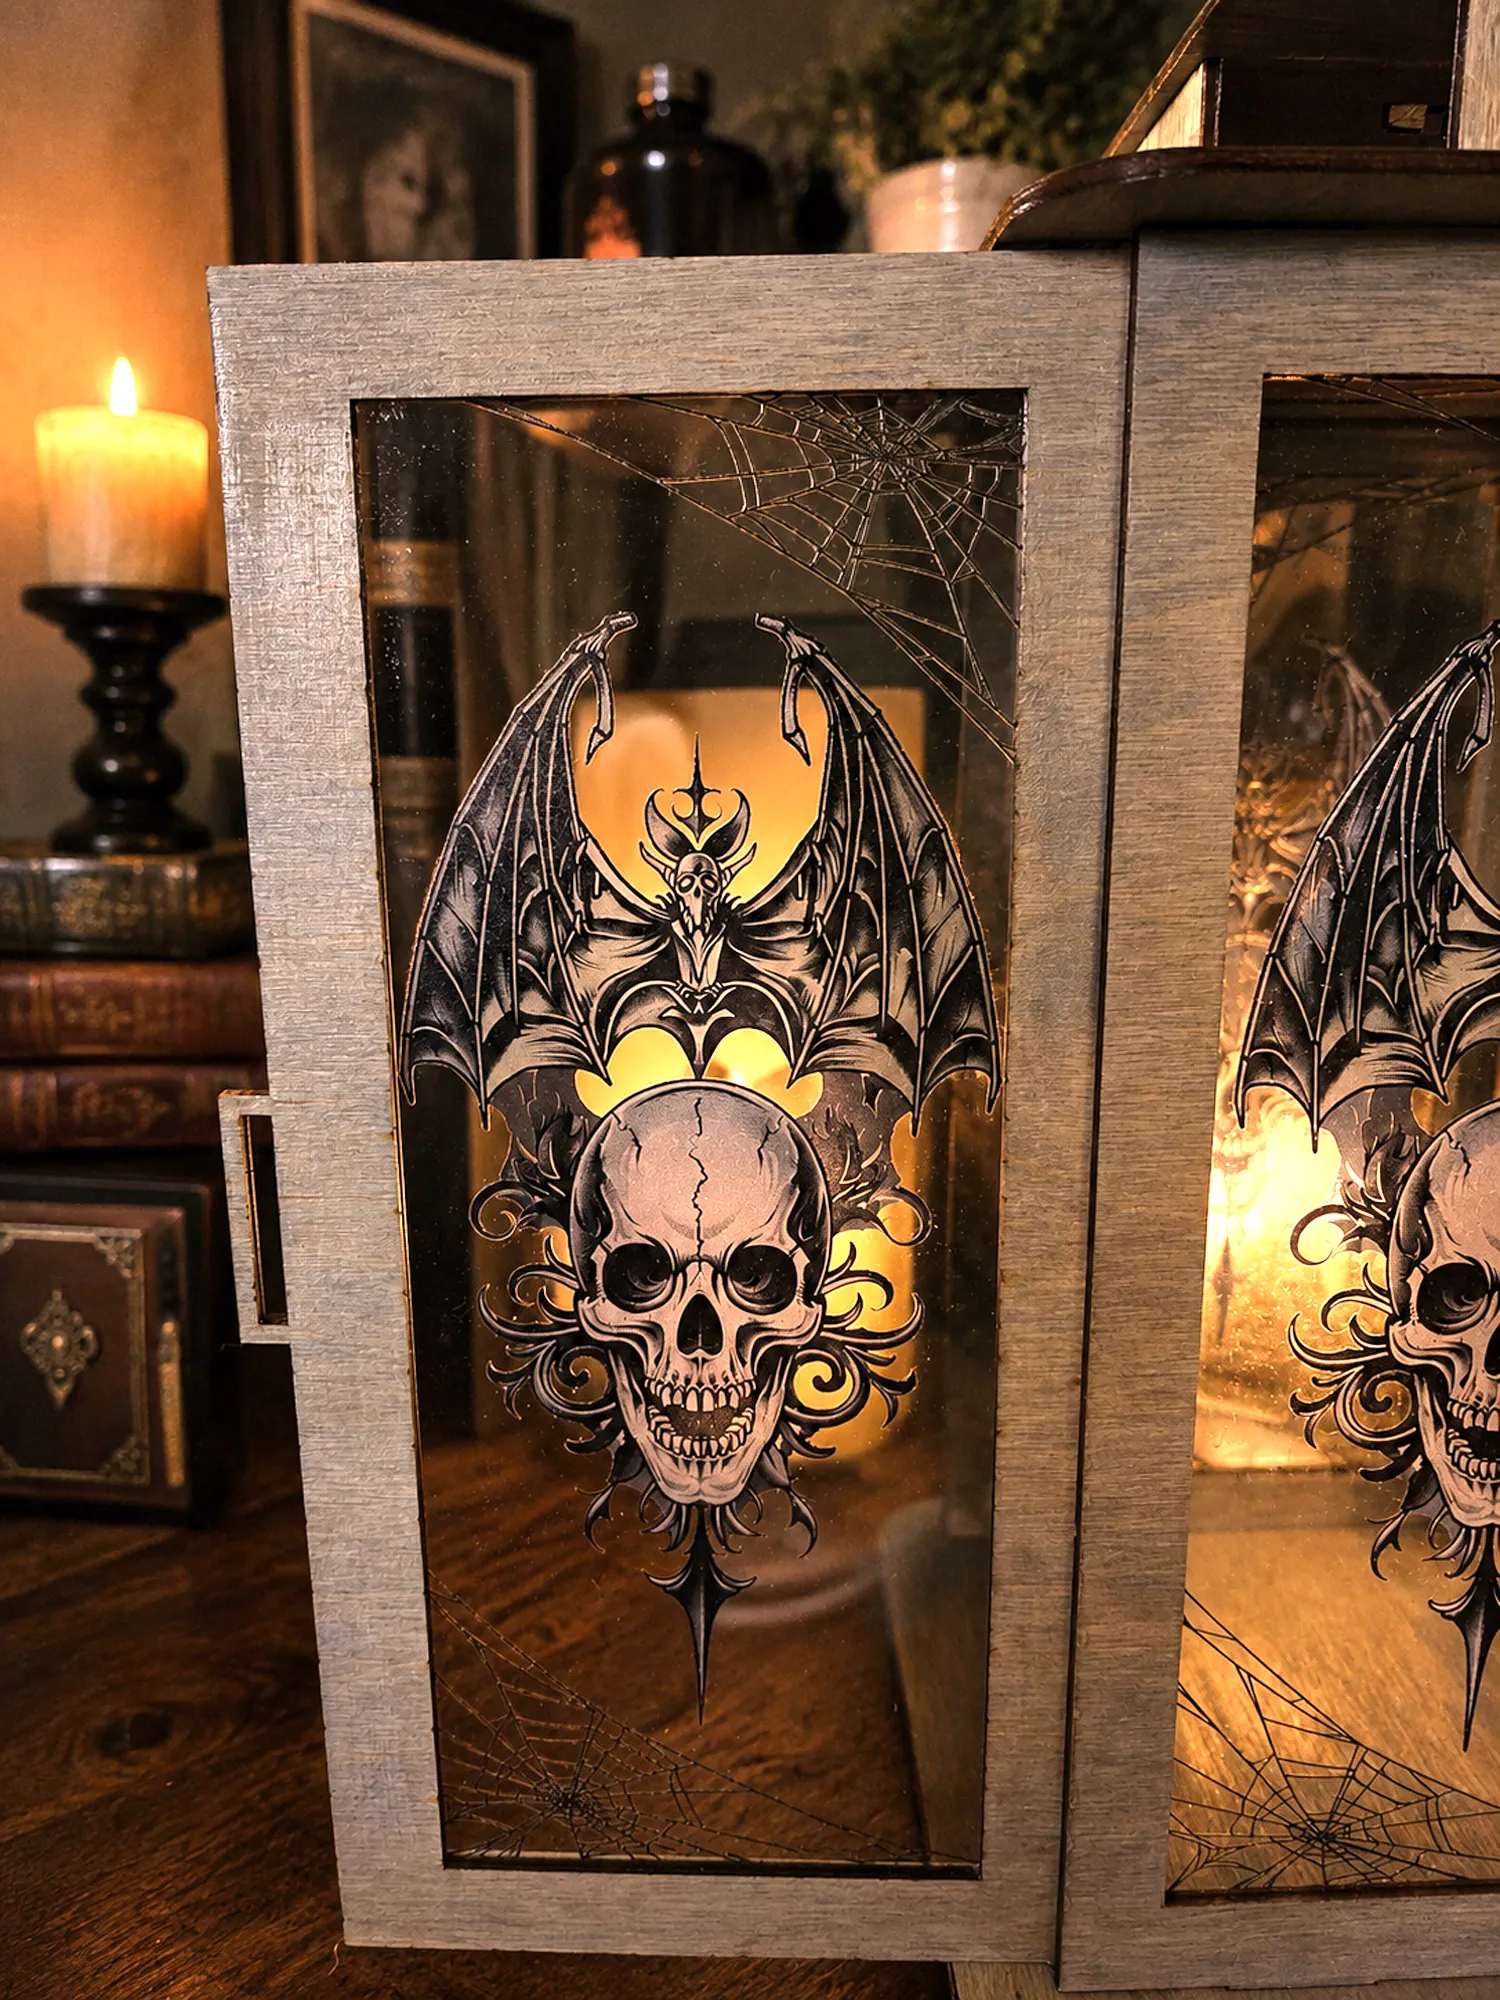
A handmade lantern gives Halloween window decorations a little more character than a string of identical lights. The Halloween lantern collection includes a four-piece house set for a friendly, layered window and a gothic skull lantern for a darker single focal point. Both work with flameless LED candles, so you can create the glow without adding an open flame near curtains or paper decor.
For a whole-house look, connect your windows to the rest of the decor with the Halloween mantel guide or create a warm gathering space with the Halloween table decor guide. The same basic principle holds in every room: choose one focal point, build a few quiet layers around it, and let the light do the memorable work.
A simple formula
One silhouette, one warm glow, and enough empty space to see both.
That is often all a Halloween window needs to look good from the street and feel easy inside the home.
Frequently asked questions
A few details before you decorate.
What lights are safest for Halloween window decorations?
Battery-operated LED candles or cool-running LED lights are the practical choice for a window display. They create a visible glow without placing an open flame beside curtains, paper silhouettes, or other decorations.
How do I make Halloween window decorations visible from the street?
Work in layers: use a dark shape or simple silhouette closest to the glass, then add a warm light source behind or below it. Check the view from the sidewalk after dusk, because a display that looks good indoors can disappear outdoors.
Can I use paper silhouettes in a Halloween window?
Yes. Keep the design simple, use removable materials that will not damage the glass, and place any light far enough away that the paper never touches a hot bulb or candle.
How many decorations should go in one window?
One clear idea per window usually looks stronger than a crowded collage. Repeat a color, shape, or warm light across several windows when you want the house to feel connected.


